User Tools
Site Tools
Sidebar
Creating a Single Morph Target or Prop
To use the bridge to create a single morph target:
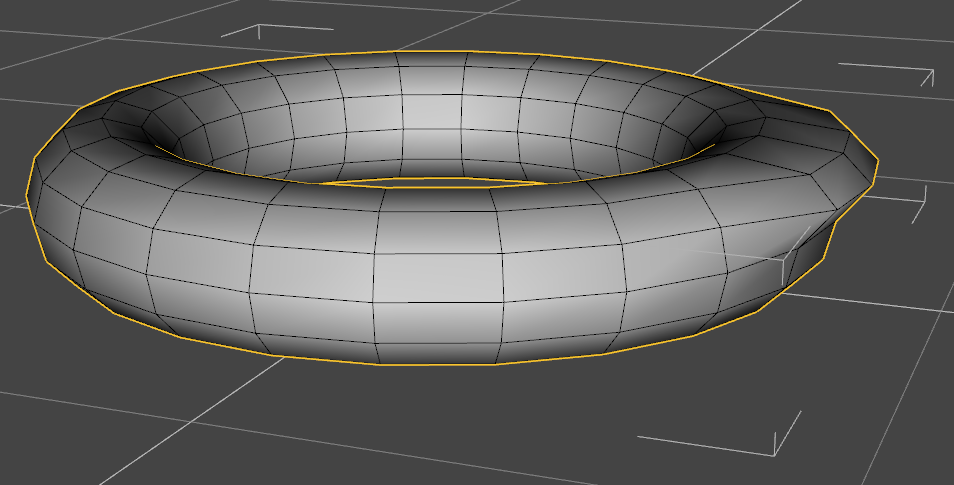
- In Daz Studio, load the figure, hair, clothing item, prop, etc. that you want to modify in Hexagon. In this example, we create a torus primitive:
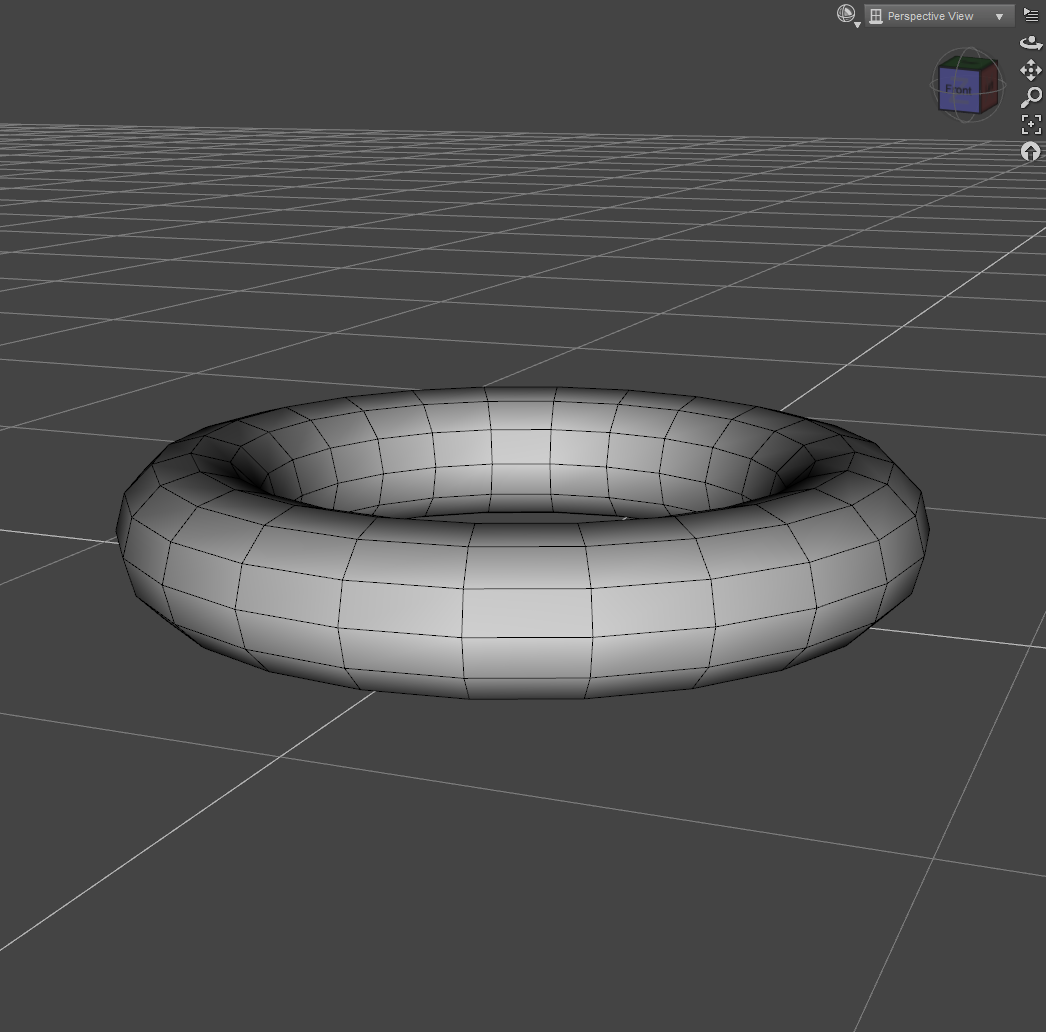
- Make sure the item is selected and choose File > Send to Hexagon from the menu or click on the Send to Hexagon icon.

The item will be brought into Hexagon as a single mesh.

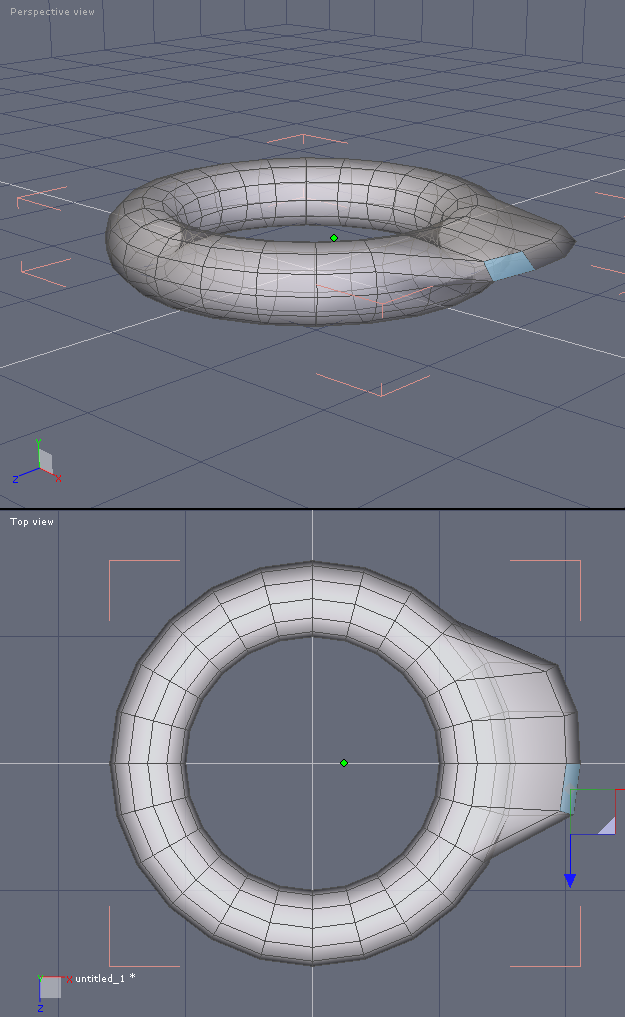
- In Hexagon, use the tools in Hexagon to modify the item, making sure that:
- The name of each mesh remains the same. If it is changed by Hexagon, change the name back to the original name.
- No polygons/vertices are added or removed unless the mesh will be sent as a prop back into Daz Studio.
- If clothing items were brought over with the figure, they are modified to match the figure changes.
- When all modifications have been made, save the Hexagon scene file (just in case), select which items to send over to Daz Studio (just the figure, the figure and the clothing, etc.) then choose File > Send to Daz Studio from the menu.
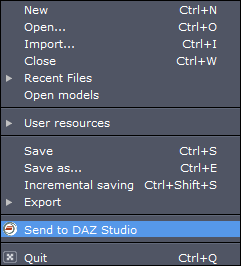
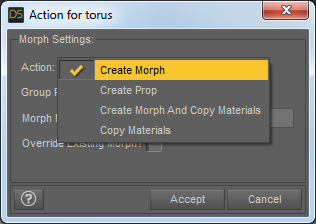
Note: If you close Hexagon before sending the file back to Daz Studio, a confirmation message will come up asking if you'd like to send the file over before closing Hexagon. - In Daz Studio, the Action dialog will come up.
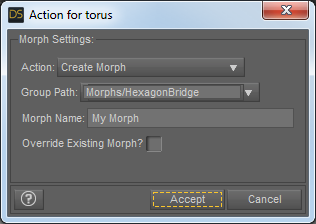
- Action: Determines how Daz Studio will interpret the incomgin data from Hexagon.
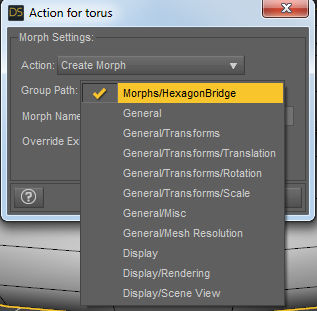
- Group Path: Determines what group the morph will be placed under in the Parameters tab.
- Morph Name: User defined morph name, click in field and type name of morph.
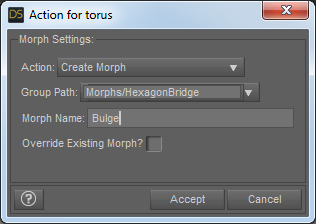
- Override Existing Morph? If the user-defined morph name is the same as a morph already on the figure, selecting this option will replace the existing morph with the new one. Unless you are replacing a morph you made yourself, make sure this option is not selected.
- Accept: When selected, applies the requested action using the incoming data from Hexagon.
- Cancel: When selected, aborts the action and discards the incoming data from Hexagon.
- The import process will be finalized and after a few moments, the item in the scene will have been updated with the new morph.
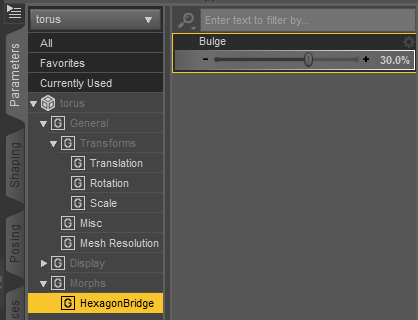
- Look at the Parameters tab for the root figure (select the main figure node in the Scene tab) and you'll notice that the new morph has been added where you set the group path in the import dialog. It will also be set to 0.00 by default.
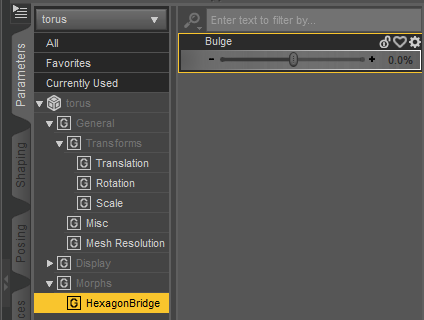
- Changing the parameter value will apply the morph.
Page Tools
Except where otherwise noted, content on this wiki is licensed under the following license: CC Attribution 3.0 Unported
