Sidebar
Installing Install Manager (WIP)
This page is a WIP. There are likely to be incomplete and or missing steps while the page is being built.
Summary
Install Manager is a stand alone application that will allow users to manage content downloads and installations. The Install Manager application is quick and simple to install and set up.
Process Overview
- Installing Install Manager
- Run the Installer
- The Welcome Screen
- License Agreement
- Install
- Important Notes
- Launch and ReadMe
Foundation
In order to use Install Manager to manage content purchased from the DAZ 3D Store, you must have an account and know your login credentials. Make sure you have this before you start.
Step By Step
Once you have downloaded the Install Manager installer and saved it, locate the installer and follow the steps below. As you do, you can click on any of the images to view that image full sized.
Step 1 - Run the Installer
Run the installer by double-clicking the installer icon.
Note: If you are installing Install Manager on a computer running the Windows Vista/7/8 Operating System, with User Account Control (UAC) enabled, you will be prompted to allow the installer to run. Click “Yes” to allow the installer to continue.
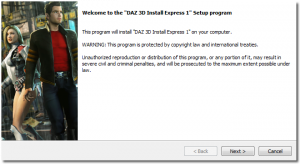
Step 2 - Welcome Screen
You will be presented with a Welcome screen. Press “Next” to continue with the installation.
If you choose to “Cancel”, no changes will be made to your computer and the installer will quit.
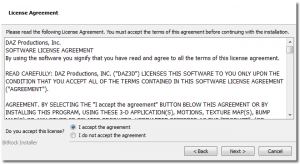
Step 3 - License Agreement
The next screen is the License Agreement. Read the agreement and make a selection.
- I accept the agreement - you accept the terms and the installation will continue.
- I do not accept the agreement - you do not accept the terms and the installer will quit without making any changes to your computer.
Click “Next” to continue.
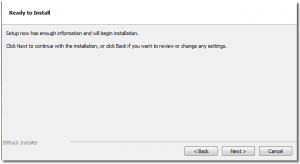
Step 4 - Install
The installer will inform you that it now has enough information to install the application.
Click “Next” to continue.
At this point, you can still select “Cancel” to quit the installer without making any changes to your computer.
The installer will install the application to “C:\Users\<UserName>\AppData\Roaming\DAZ 3D\InstallManager”. This is the default installation path and cannot be changed at this time.
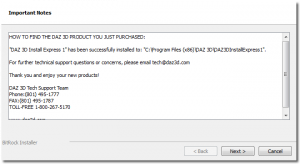
Step 5 - Important Notes
Step 6 - Launch the Application and ReadMe
The final screen gives you two checkboxes:
- Launch Install Manager
- View the Install Manager ReadMe
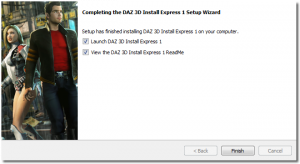 You can choose both, one or the other, or un-check everything.
Click “Finish” to finalize the installation. The installer will close and you can now run the application via the shortcut on your desktop.
Wrap-Up
To learn how to set up Install Manager content download and installation locations, please read:
If you need further help with Install Manager, please start here:
If you would like more in-depth information, please read:
